DIY Inspiration Boards (on a budget) | It's Annie!

Hey Everyone,
Today is the day! A post that I prepared for in advance (and thought about); if you haven't guessed yet, I am going to show you how to make DIY Inspiration/Motivation/Goals Boards (there's SO many names for them). In total, I spent £10, I had everything else so all I bought was the boards. So, are you ready to do some DIY-ing? This is SO easy (a bit time consuming) but is cheap - and you don't need to buy EVERYTHING shown - unlike some YouTube Video DIYs that I've seen (that annoys me a bit).
Step 1: Picking a Board

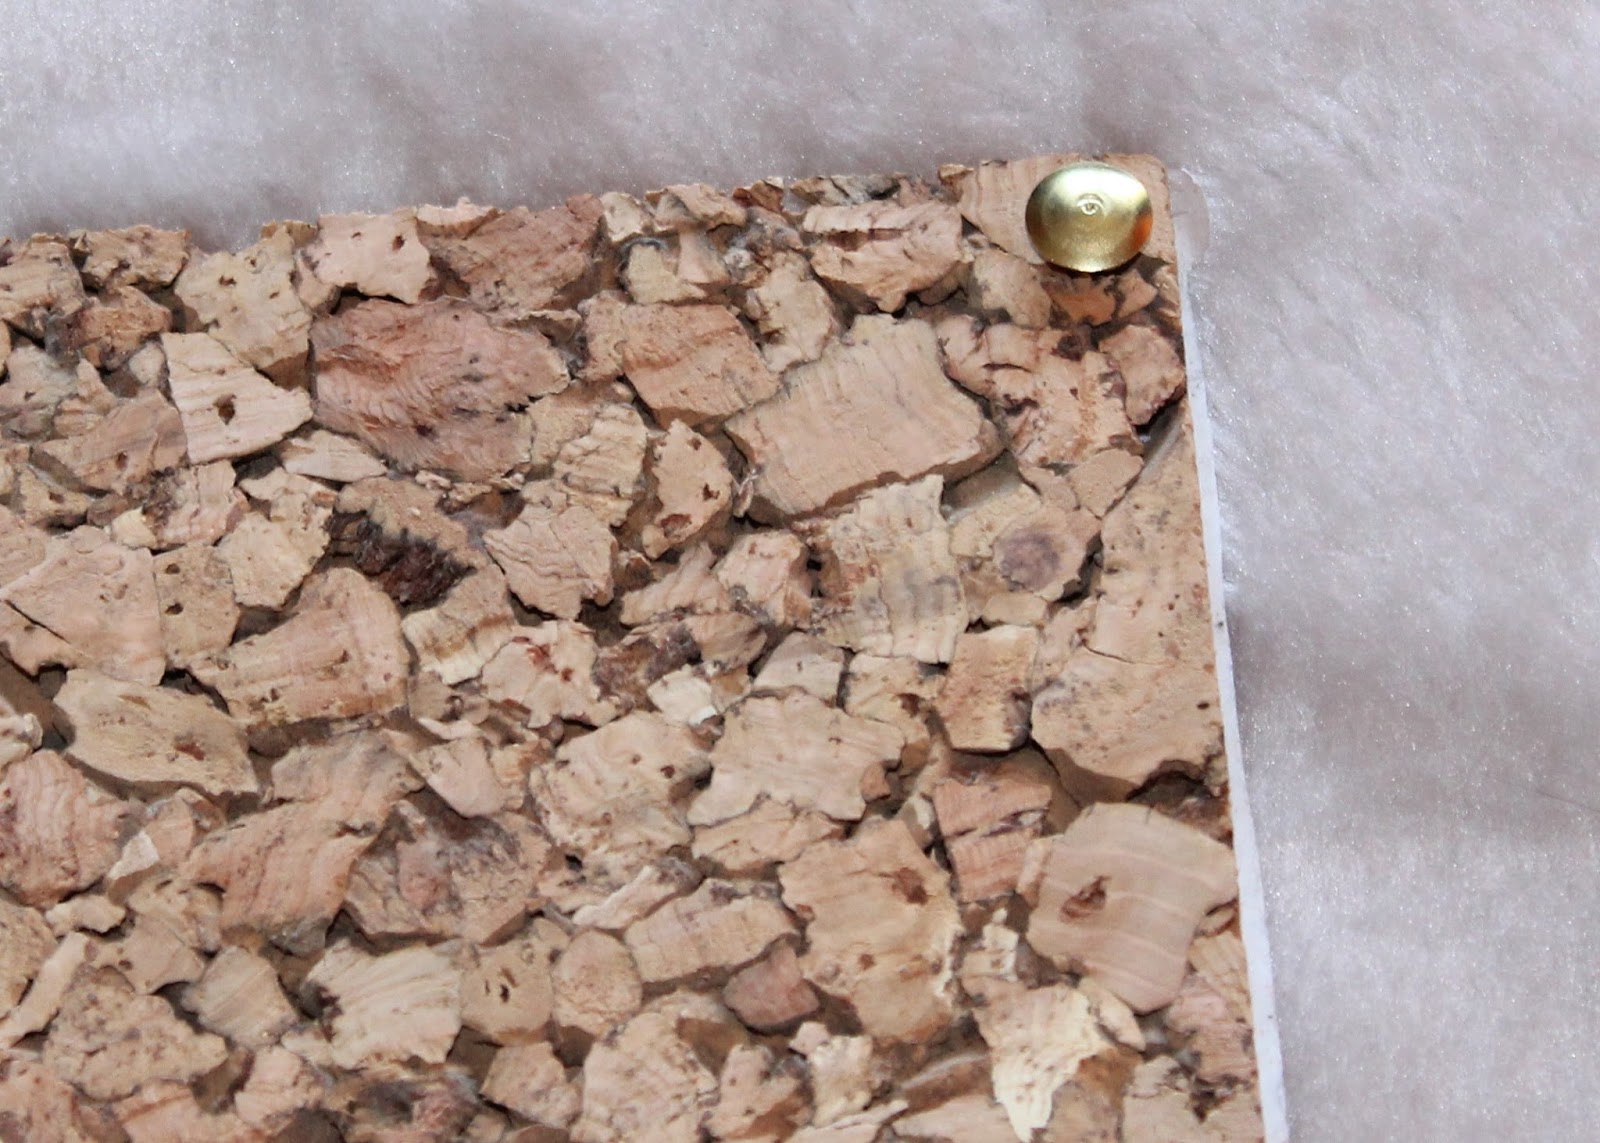
What I mean about this is pick your base, whether it's paper, cardboard or even cork boards/notice boards (like I am today). I got these 4 Corkboards on Amazon for £10 (which is the cheaper and best quality ones I've seen & tried so far = £2.50 per board WOW!). In the instructions, it said that I had to lay them out for 48 hours - for whatever reason - which I did (not sure what difference it made though).
Also, so what do you want to keep your images in place with? For me - personally - I wanted to have the chance to change the images when my aspirations change too; so I used thumbtacks or you could use pushpins or anything else you want to! If this doesn't concern you, then you can use paper and glue it down. There are many places you can get these supplied: e.g. staples, local stores, stationery stores, amazon, grocery stores etc.
Step 2: Choosing Images


You can get your images from magazines, newspapers or print images (like I've done here). Soon as I had a bunch of boards, I thought I would categorise them; I decided to choose the sections of: Fashion, Career, Travel & Goals (I need to still do my Goals board - hence why it isn't seen here).
These are completely customisable to YOU! Include what you aspire to be like and what inspires you and motivates you: whether it's celebrities, sports players, places, people (family & friends, for example) or quotes etc. - the list is endless. What makes you feel happy and motivated when scrolling through your social media feed? (Include these!)
Step 3: Layout your board

This is so that you can see how it will turn out - and if you want to change anything, this is the easiest way to change the layout without taking out pins or un-gluing an image. It also shows if you can fit more images on, or if you need to get rid of some.
This is to help visualise how it will turn out in the end; it's one thing to imagine what it could be like, however, it's completely different seeing it all laid out in a small board. Decide whether the image looks good with the other ones (whether you decide that it doesn't have the same feel/tone as the others, or the colour scheme is just wrong or maybe you don't have enough room for the image etc.)
Remember! This is YOUR board to help YOU or inspire YOU, for YOUR life! No one will see this unless you show them (like I am here), so make it how YOU want it! Want to have your own company about handmade glasses but work in accountancy currently? Go for your dream of that glass making shop! It may take a while and you might not be able to quit that awful job of yours straight away, but if you're passionate enough about it - give it a go! This is just an example, there are LOADS of career choices and opportunities out there for you, you just need to be willing to find them and pursue them, no matter what - you will be discouraged at first, but "it needs to get worse before it can get better" (don't mind me putting a little quote in quickly...)
Step 4: Assembling your marvellous creation


For the title, I wanted to recreate a washing line type of idea. To do this, I put a thumbtack either side of the top corner. For the actual "line", you can use yarn or embroidery threads (or similar - this idea is optional, I just thought it'll look cool); I used yarn (as it's what I had and I feel that it would be tighter - so the paper wouldn't droop down over the other images on the board, wasting space) - feel free to work with what you have - I tied it around about 3 times on one side and also a couple on the other (let me explain better, you'll notice a clump of knots, tie it around the other side of the pin too). I then used mini clothespins (from Hobbycraft - not sponsored but I love Hobbycraft though [one day maybe they'll sponsor me or send me something; hint, hint - anybody from Hobbycraft "hi!"] ... I can dream aha) to fasten the title.
Also, now is when you pin down your images in your chosen places, that you mapped out before. I used thumbtacks, as they were what I had and they matched the colour scheme of my room (white, black, orange/yellow and gold/natural tones). The one caution I have about thumbtacks are, that if they're pushed in too far, it's difficult to get them out of the board - because they don't have a place to pull them out, like a pushpin would (so consider this).
Step 5: You're done!!!


And this is the final design!!! I really like how it looks, it breaks up the colour and the blank wall (I don't have anything on that wall besides shelfs on an orange wall). These came out really cool - if I can say so myself.
I put these on the wall by using nails (I put two small nails in the top of the boards, it hold well; however, it started to curl at the bottom - so I may put more in). These have a sticky back, but I didn't want to use this as it may: 1) not come off, and 2) bring all the paint with it. You can also use command strips (if you're in a dorm room and can't put holes in the wall), I've never tried them (they're quite pricey) but I've heard great things about them and the brand.
Now, go and make your own, and inspire yourself with this budget friendly idea! (If you are reading this and recreate it, tag me on social media - look at my contact page for information, like business email & social media etc. - or below. Use the hashtag #ItsAnnieDIY I look forward to seeing your creations).
I hope you enjoyed this post! I loved writing it and I'm extremely proud of it too; do you want to see more posts like this (comment below, and follow my blog/follow via email - to do this; if you are on a mobile device, scroll to the very bottom of the page and click "view desktop version" and it should be on the right-hand side sidebar. (Why not share the post, to give some inspiration to your friends!!)
Thanks SO much for reading!
Annie Xxxx
Quick Note: I literally just posted this and saw that this is my 100th blog post!!!! OMG, I can't believe it, it's gone so quickly - I'm quite glad that it's this post though. Please share it, so we can see if we can beat the record of views/followers on my blog. Thanks to everyone for the support. Here's to the next 100! Xxxx
Quick Note: I literally just posted this and saw that this is my 100th blog post!!!! OMG, I can't believe it, it's gone so quickly - I'm quite glad that it's this post though. Please share it, so we can see if we can beat the record of views/followers on my blog. Thanks to everyone for the support. Here's to the next 100! Xxxx
Comments
Post a Comment